One page ESPA3D Plans are HERE
Back to Spad Plans Index

|
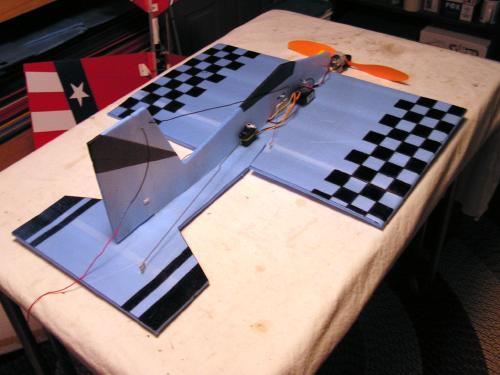
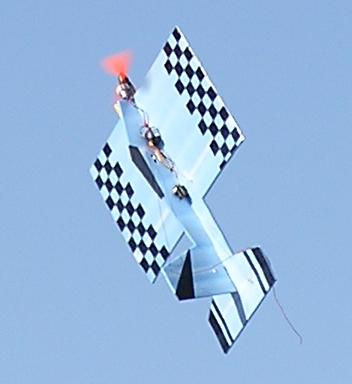
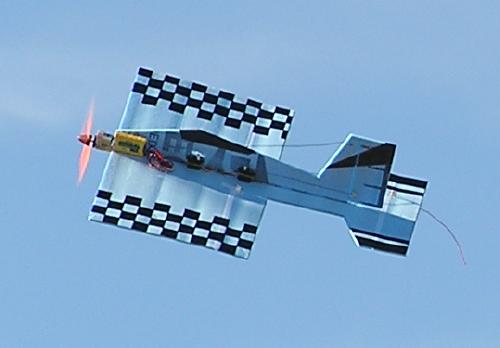
| This little airplane has turned out to be one of the most fun Spad projects we've ever done! It is built out of blue Fan-Fold house siding insulation. We found it at LOWES. It comes in twenty five 2' x 4' sections all folded up like and accordian for about $25. This makes these airframes less than a buck to build! Being very new to electrics, the ESPA3D was equiped with recommendations from Foamyfactory Models . The engine, props, and batteries came from AeroMicro . It uses a GWS EPS 350C/BB engine with a 6.60:1 gearbox and a GWS EP1260 (12 x 6) prop. The battery is a 7 cell 8.4V AAA 720mAH Ni-MH flat pack. The electronic speed control (ECS) came from Castle Creations and is a Pixi-20P. For the flight pack, I used the smallest stuff I had on hand, which is a Hitech 555 Rx and HS-81MG servos. A switch is not used, and the plane is turned on by simply plugging the battery in. |
|
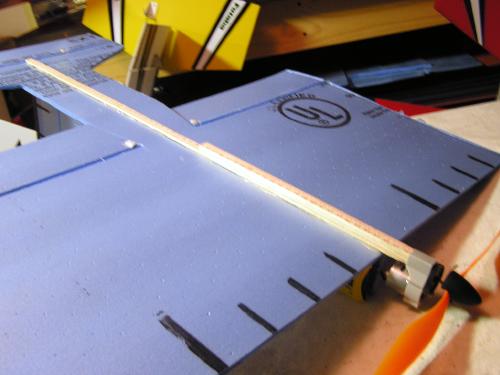
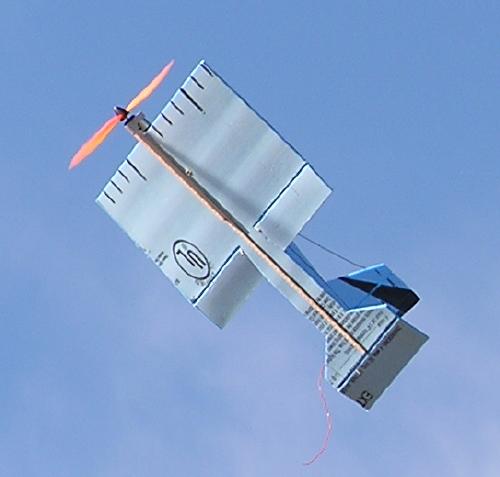
| For strength and engine mounting three 3/8" wide strips of yardstick are used. One goes the length of the plane and is 25 1/2" long. Two more 10 1/2" long pieces are glued to it with medium CA. The "spine" is then glued to the airplane using 5 minute epoxy. Prior to gluing to the foam, a straight pin is used to poke a bunch of holes along the glue line. This lets the epoxy flow through the thin plastic coating and gives it something to grab on to. The front of the "spine" will need to be trimmed slightly so the engine will slip snugly in place. |
|
| The Fan-Fold cuts real easy
with a sharp X-Acto knife. The hinges are made by folding a piece of course
grit sandpaper in half, and sand along the hinge line. Carefully sand all
the way through until you just barely make it to the thin layer of plastic
on the other side. Then simply reinforce the hinge with a piece of scotch
tape, since the plastic layer of the Fan-Fold isn't very strong for hinges
itself. Once the two pieces of the airplane are cut out and hinged, they are
glued together with 5 minute epoxy. Again, poke pinholes through the plastic
layer so that the epoxy holds better. |
|
| The proper CG range is shown
on the plans drawing. At 4 3/4" from the leading edge the plane is very
stable, and will do all aerobatics very cleanly. At 5 1/2" from the leading
edge the airplane is EXTREAMLY responsive and aerobatics are very tight.
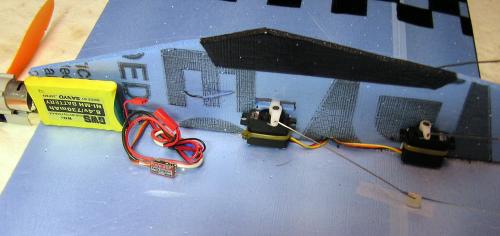
Use equipment positioning to set the CG where you want it. The battery is
velcrod on. The servos are stuck to the fuselage with double sided foam
mounting tape and further secured with a zip-tie. The control horns are
made from PVC gutterpipe. Install the control horns by simply cutting a
slot and pushing them through from the opposite side and glue in place with
5 minute epoxy. |
|
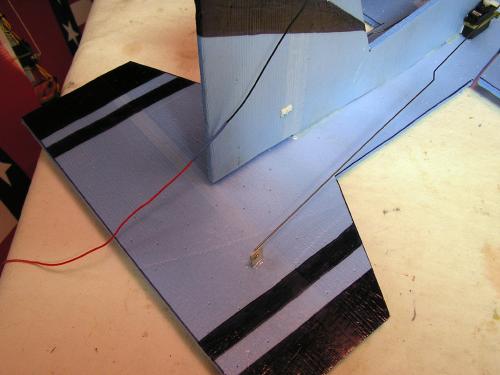
| The reciever is velcrod in
place. You can also see that the antenna is routed through the foam. You
will also notice that a piece of PVC gutterpipe is used as a doubler for
the aileron servo zip-tie. This photo also shows the aileron servo arm slot
cut into the fuselage. There are also two small openings cut into the fuselage
for wire routing. For the aileron pushrods I used .035 music wire with z-bends
on both ends. It seems rather flimsy to me, but has proven to work fine. |
|
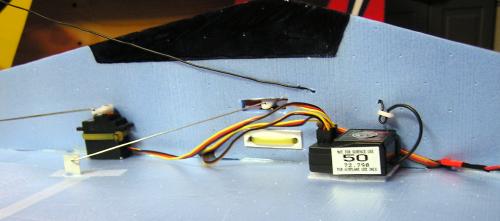
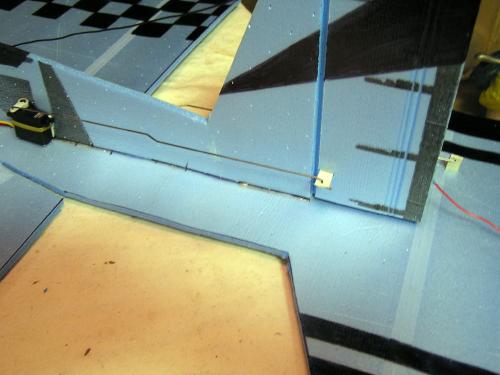
| For the elevator pushrod I
used .058 music wire. It is a little on the heavy side for this application,
but it's all I could find in my shop. It has since been since recommended
to me by experienced electric flyers that .047 music is perfect for small
electric plane pushrods. It is important to note that the elevator pushrod
is off-center to allow full unobstructed rudder travel. |
|
| Notice that the rudder and
elevator servo are mounted opposite eachother on the fuselage. This way
one zip-tie around them both will secure them. If you look close, you can
see the double sided foam mounting tape that is also holding the servos
in place. The rudder pushrod is also made from .058 mucis wire. Both the
rudder and elevator pushrods are z-bent on both ends. There is a zig-zag
bend in the middle of these pushrods. They are adjusted by bending this
zig-zag either more or less severe. |
|
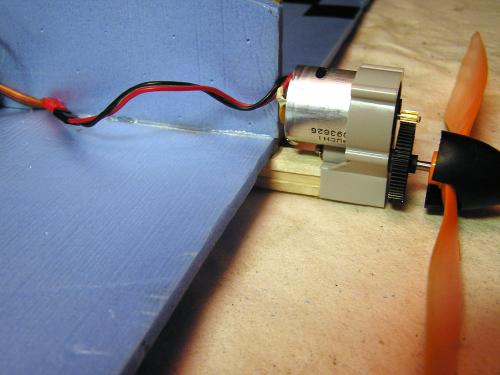
| The engine simply slips on
the front! Talk about simplicity! At first I had to resist the temptation
to put landing gear on the airplane, but it was recommended not too, because
of the extra weight. It didn't take long to learn that the the prop shaft
bends pretty easy in a dirt doink, but it also bends back very easy by hand.
It also didn't take long to find out that this airplane will harrier at less
than a mile per hour, so my landings are just a slow harrier fly-by, and I
reach out and grab the wing! For take off, I hold on to the fuselage at the
cockpit, power up to about half throttle, and give it a light underhand toss
with about a 20 degree nose high attitude. |
|
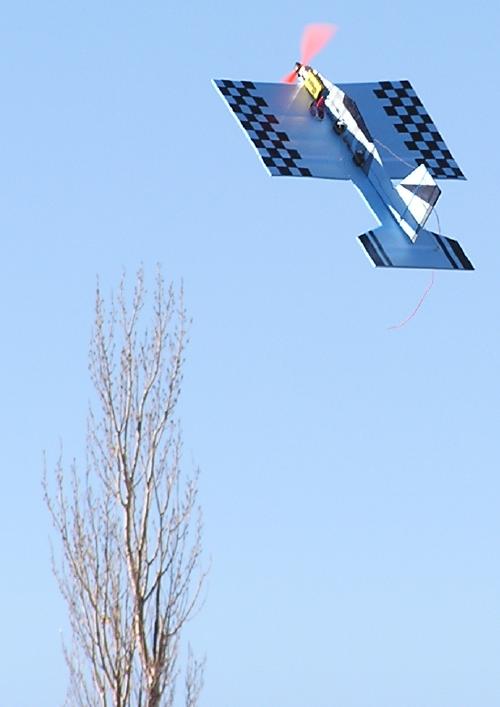
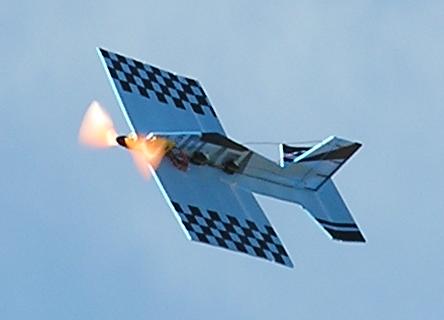
| With throttle managment, we are getting between 7 and 10 minute flight times with our ESPA3Ds. This plane does a beautifull harrier, as well as very tight inside and outside loops. It will also flat spin great, especially with the CG in the aft range. It will also hover and torque roll very well. The wing does flex quite a bit in high G maneuvers, but we have yet to break one no matter how hard we try. If however, you put a larger more powerful engine on a ESPA3D, it might be a good idea to put some packing tape across the span of the wing, or even embed a carbon fiber rod in the wing. With the equipment we're using though, it really isn't necessary. |
|
| For decorations on our ESPA3D's
we are simply using paint stick pens or magic markers. |
|
|
| If you decide to try one of
these airplanes, we wish you the best of luck and hope you have as much fun
with yours as we are having with ours! Beware, Fan-Fold airplanes can become
very addicting, and once you build one you will quickly see that the sky is
the limit for ideas and innovations. What we have presented here is the absolute
simplest electric airplane we could come up with...what comes next is up
to you! If you have questions, comments, or would like to tell us how your
ESPA3D flies, please visit Spadworld
, or any of the other great Spad forums listed on the
Spad Home Page
. |
|
Back to Spad Plans Index